IBM Thinkpads came with tons of extra buttons affectionately knows as special keys. See here for a full list of the keys and the actions they triggers. All the keys work out of the box except for the Access IBM next to the Esc key and the Previous and Next Page keys on either side of the up arrow key.
For as long as I can remember I've key those keys to do the following.
Pushing the Access IBM key launches my terminal. I'm always in the terminal, so this is convenient and easy.
Pushing the Previous Page key moves to the workspace on the left, while the Next Page key moves to the workspace on the right. I work with many applications at a time with lots of opened windows, so having multiple workspaces and an easy way to access them makes life much easier.
Thursday, August 21, 2014

Friday, August 1, 2014
Better font rendering in Xubuntu
Xubuntu is a great distro but I never liked the way it rendered fonts. Through trial and error I've come up with the best font rendering settings for me. Basically, I went to settings ---> Appearance ---->Fonts. Then I change the fonts to Ubuntu + regular + 10. See image for more details.
To fix font rendering in system wide, especially in Firefox, follow the advice in this blog post.
 |
| Fonts settings in Xubuntu |
Saturday, July 26, 2014
Make GIMP interface look like Photoshop
I love GIMP and I've been trying to learn how to use it for image processing. However, I've gotten quite good at using Photoshop and the thought of learning a new interface and work flow is not appetizing. To that end, I did some googling and discovered that GIMP can be themed.
I installed a great theme that mimicked the Photoshop interface and I must say it looks pretty darn good. It's almost like I'm using Photoshop. See images below and judge for yourself.
So far I've not noticed any issues with GIMP and everything works as it should. Now if I can only do the same with Inkscape and Scribus, I would be golden.
I installed a great theme that mimicked the Photoshop interface and I must say it looks pretty darn good. It's almost like I'm using Photoshop. See images below and judge for yourself.
 |
| GIMP with Photoshop theme. |
Wednesday, July 23, 2014
Enable hibernation in Xubuntu 14.04
Hibernation is disabled by default in all Ubuntu-based distributions because of problems in some laptops. However, it works fine on my Thinkpad. I do not use hibernation much, but sometimes I want to switch batteries without closing all my applications.
Before enabling hibernation, test that it works on your machine by running the following code.
sudo pm-hibernate
If hibernation works, enable it permanently by opening, with sudo,
/var/lib/polkit-1/localauthority/10-vendor.d/com.ubuntu.desktop.pkla
Then find the two sections below,
[Disable hibernate by default in upower]
[Disable hibernate by default in logind]
Finally, change
“ResultActive=no” to “ResultActive=yes” in both cases.
Restart your computer and you should be able to hibernate your computer from the power menu.
Before enabling hibernation, test that it works on your machine by running the following code.
sudo pm-hibernate
If hibernation works, enable it permanently by opening, with sudo,
/var/lib/polkit-1/localauthority/10-vendor.d/com.ubuntu.desktop.pkla
Then find the two sections below,
[Disable hibernate by default in upower]
[Disable hibernate by default in logind]
Finally, change
“ResultActive=no” to “ResultActive=yes” in both cases.
Restart your computer and you should be able to hibernate your computer from the power menu.
Tuesday, July 22, 2014
How to monitor Thinkpad power consumption in Xubuntu
I received my new battery yesterday and was curious about my laptop's power consumption. I did some searching and found the perfect tool. It's a small command-line application called powerstat. It's easy to run and available in the package manager.
 |
| Output of powerstat |
To install powerstat
sudo apt-get install powerstatSaturday, July 19, 2014
Installing Tex Live 2014 and using LaTex in Xubuntu 14.04
I got into the LaTeX game late--after I had already written my PhD thesis--but I am glad I discovered it and now I use it all the time to write reports, letter and anything I will export to PDF and want to look nice.
Installing LaTeX on the mac is as simple as installing the MacTex.pkg, which also includes LaTeX editors, a bibtex reference manager, a spell checker and an equation editor.
On the linux side of things, it's not as simple to get the latest release of TeX Live but not that difficult. You should know that Tex Live 2013 is available in the Ubuntu repositories and can be installed with synaptic. However, I wanted the latest release.
With those applications you are now ready to write beautiful, well-formatted documents.
Installing LaTeX on the mac is as simple as installing the MacTex.pkg, which also includes LaTeX editors, a bibtex reference manager, a spell checker and an equation editor.
On the linux side of things, it's not as simple to get the latest release of TeX Live but not that difficult. You should know that Tex Live 2013 is available in the Ubuntu repositories and can be installed with synaptic. However, I wanted the latest release.
Install Texlive 2014
I used a script by Scott Kosty to install the latest version of TeX Live. Literally, all you have to do is down and run the script and have a cup of coffee while the script downloads, installs and configures LaTeX.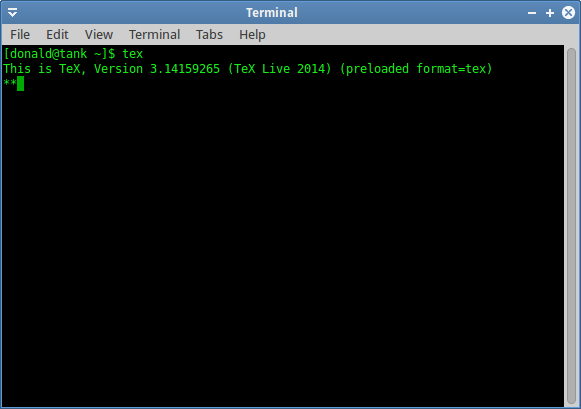 |
| Texlive 2014 installed |
UPDATE 1:
I've decided that the full Tex Live install is overkill and I will probably never use most of it. Plus all the extra fonts increased Inkscape's startup time from a few seconds to almost a minute. So, I uninstalled the full Tex Live 2014 and install the following Tex Live 2013 packages from the Ubuntu repos.- texlive-base ,
- texlive-latex-recommended
- texlive-fonts-recommended
- texlive-lang-eng
Install a LaTeX editor
There are many latex editor for (X)ubuntu to choose form. I tried Texstudio, Gedit with latex plugin and a few others, but I eventually settled on Gummi, which is lightweight and simple with an integrated PDF viewer. I installed Gummi using the synaptic package manager.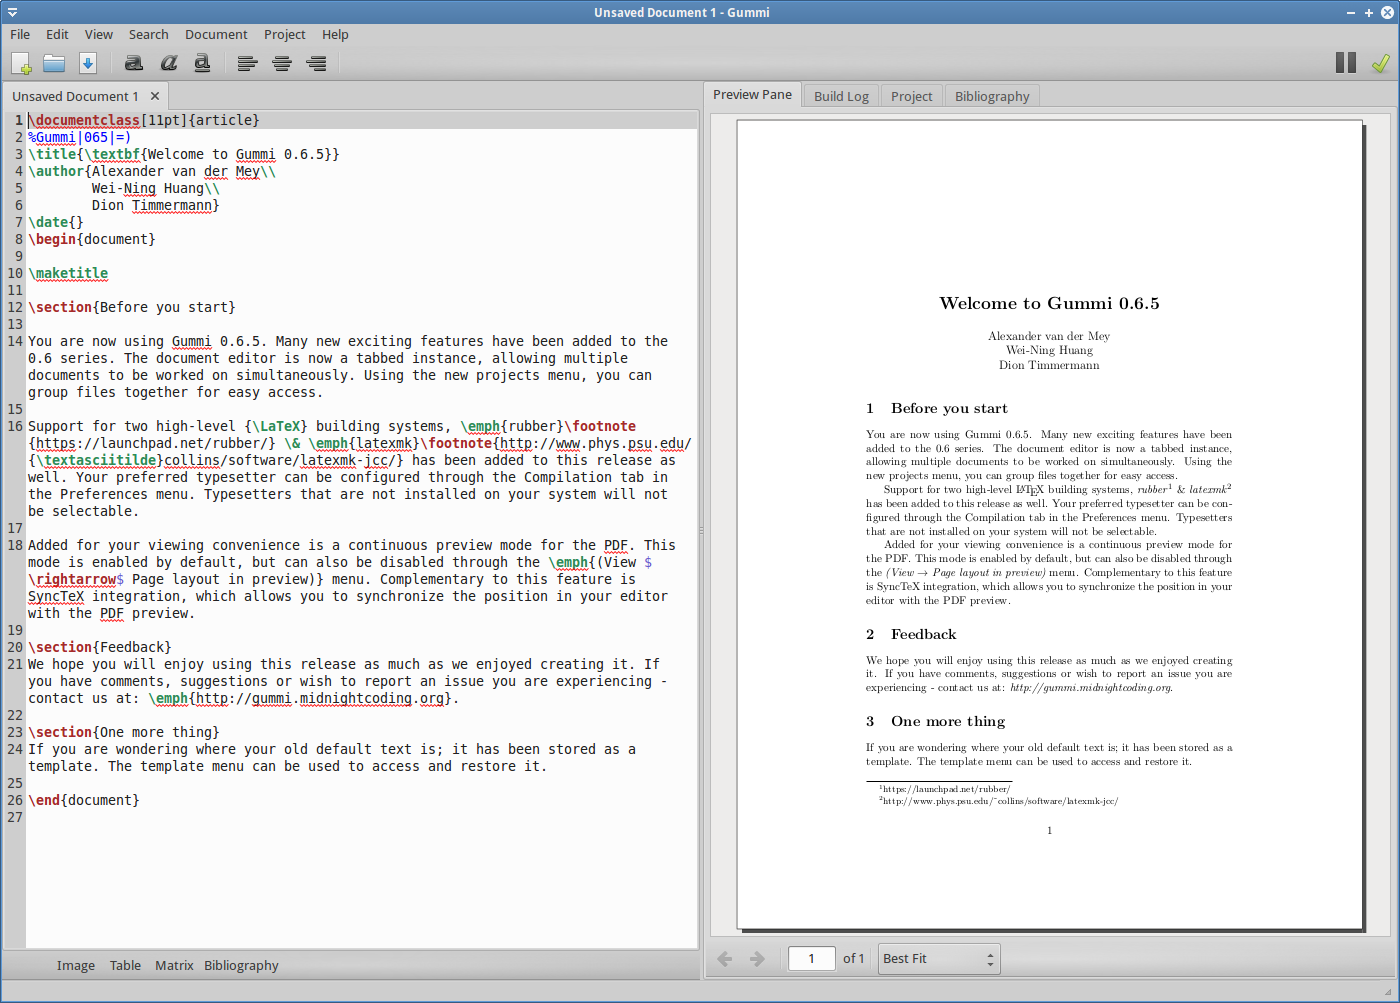 |
| Gummi LaTex editor |
UPDATE:
Gummi apparently can only run bibtex, but I use biblatex with biber. Unless an update is released that support biber, I will use TexStudio for editing latex documents.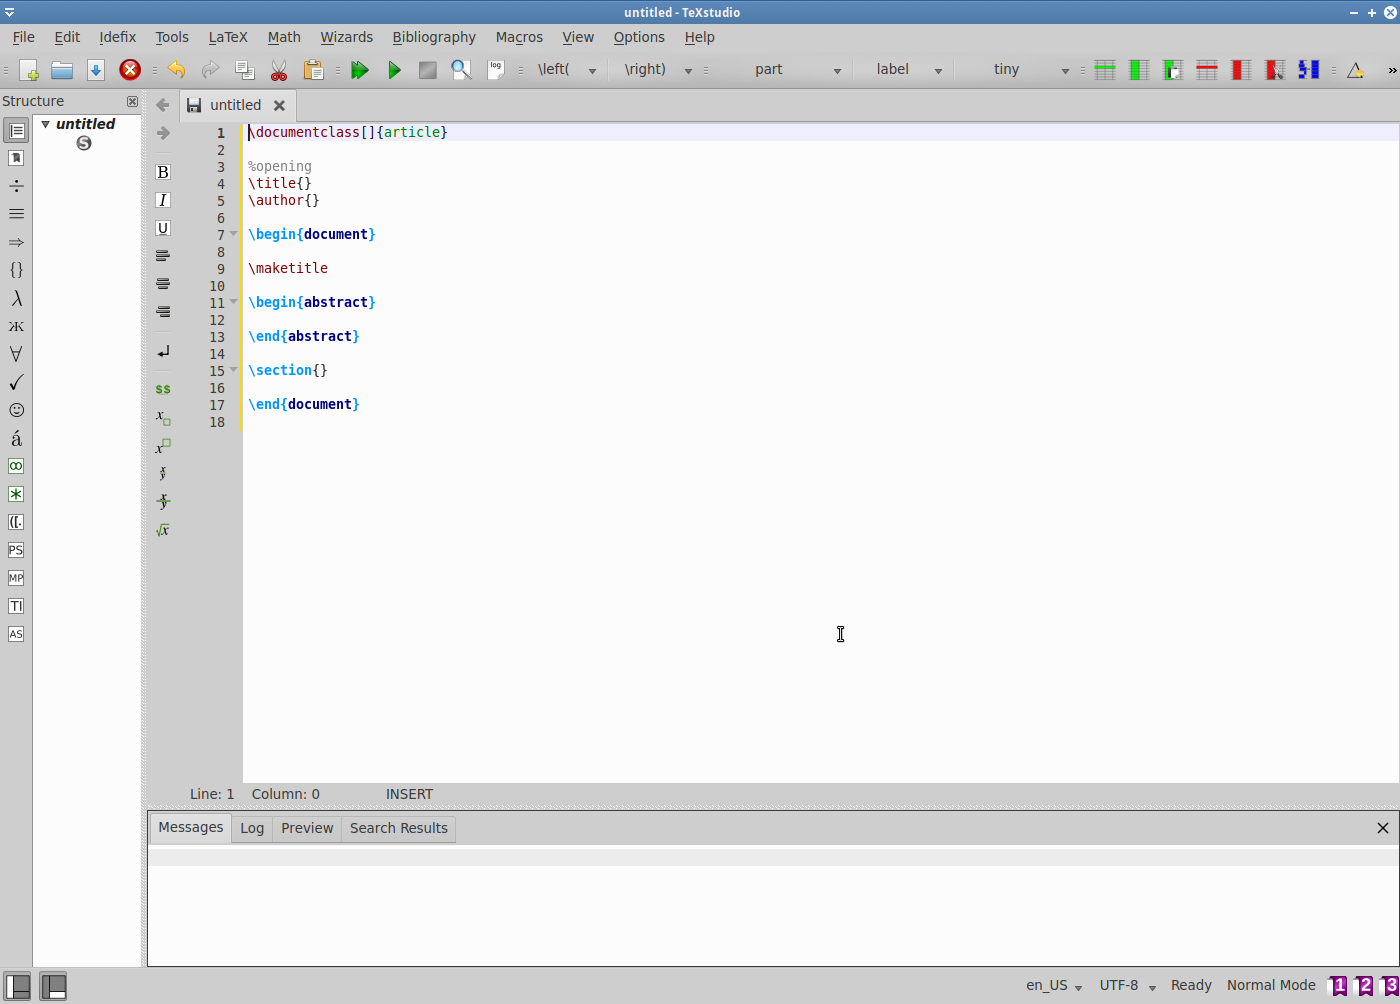 |
| TexStudio |
Install a bibtex reference manager
For writing reports that require references and a bibliography, using bibtex is the way to go. The most well-know bibtex editors available for linux is JabRef , but I like Pybliographer, which is lightweight and simple. The version in the Ubuntu repositories is outdated so I downloaded a .deb of the latest version of from the website and installed with GDebi.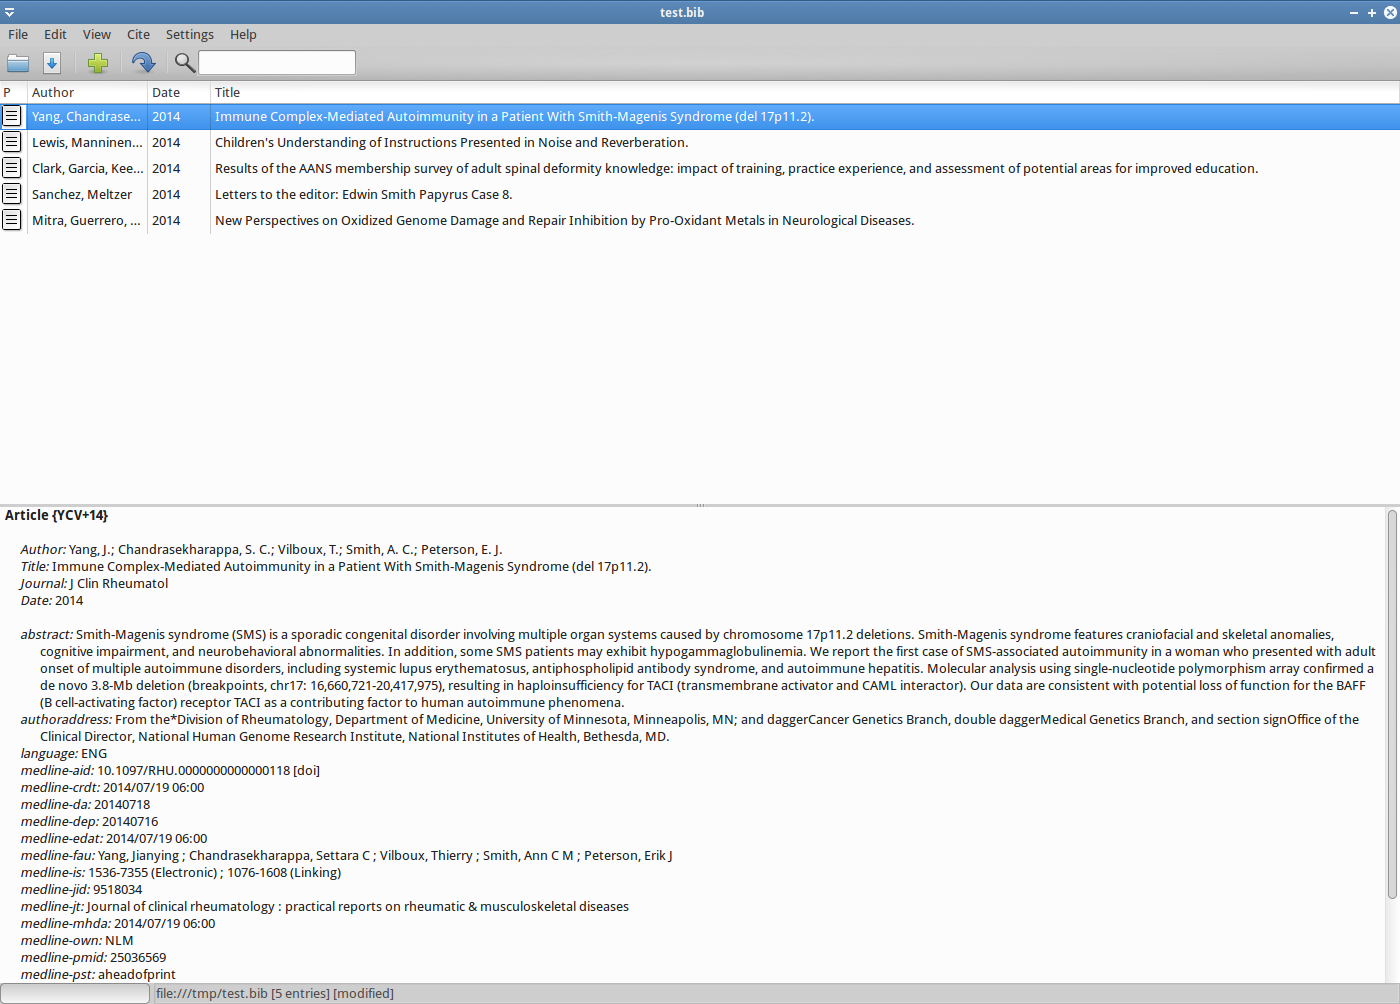 |
| Bibtex file editor |
With those applications you are now ready to write beautiful, well-formatted documents.
Friday, July 18, 2014
Package management in Xubuntu
Xubuntu ships with the bloated, clunky, slow and ugly Ubuntu Software Center. I always remove this monstrosity from my system and replace it with more sensible options that run great on old machines.
For installing apps in the Ubuntu universe, I install Synaptic Package Manager. This is the old G of package management. I use it for updating, installing and uninstalling applications, adding and removing repositories and other package management tasks.
For installing DEB files downloaded from the internet, I use GDebi. GDebi is a simple application that also fetches dependencies if needs be.
To remove Ubuntu Software Manager
sudo apt-get autoremove software-center
 |
| Software Center |
For installing apps in the Ubuntu universe, I install Synaptic Package Manager. This is the old G of package management. I use it for updating, installing and uninstalling applications, adding and removing repositories and other package management tasks.
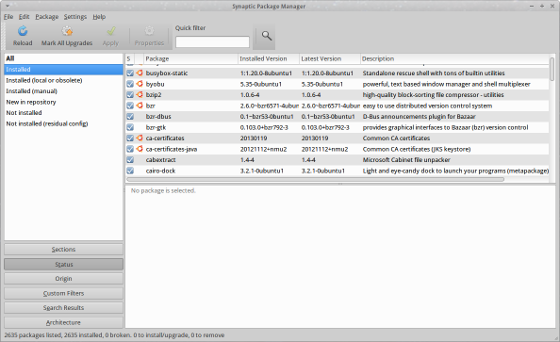 |
| Synaptic Package Manager |
For installing DEB files downloaded from the internet, I use GDebi. GDebi is a simple application that also fetches dependencies if needs be.
 |
| GDebi |
sudo apt-get autoremove software-center
To install Synaptic Package Manager
sudo apt-get install synaptic
sudo apt-get install synaptic
To install GDebi
sudo apt-get install gdebi
sudo apt-get install gdebi
Subscribe to:
Posts (Atom)